|
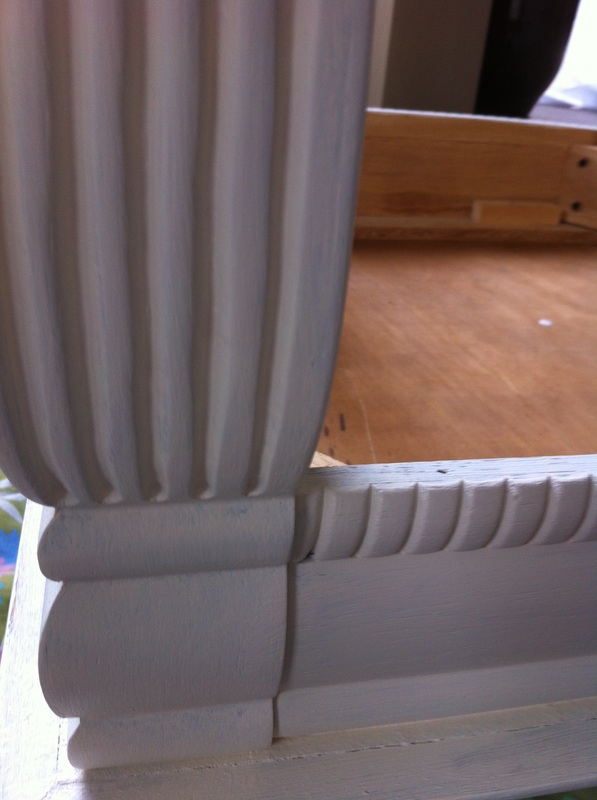
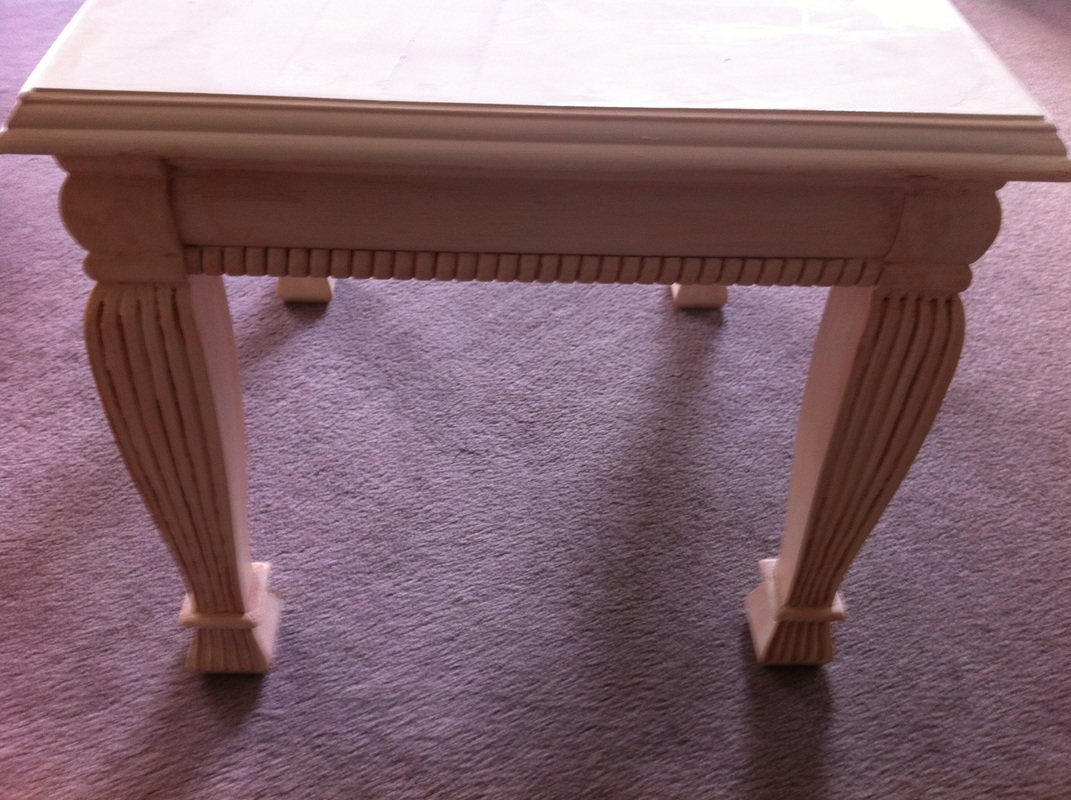
Step 1. Buy two tables. Step 2. Clean and sand tables. Step 3. Paint tables (see first image). Step 4. Water down some darker paint, apply with brush, rub off with rags (See second image). Step 5. Realize you detest the effect from Step 4 (even though you've liked it on other projects). Step 6. Repaint tables. The tables need another coat. Then I'll post pics. And then I have to consider how they'll work with the new floors and might end up repainting them yet again or looking for something new altogether.
0 Comments
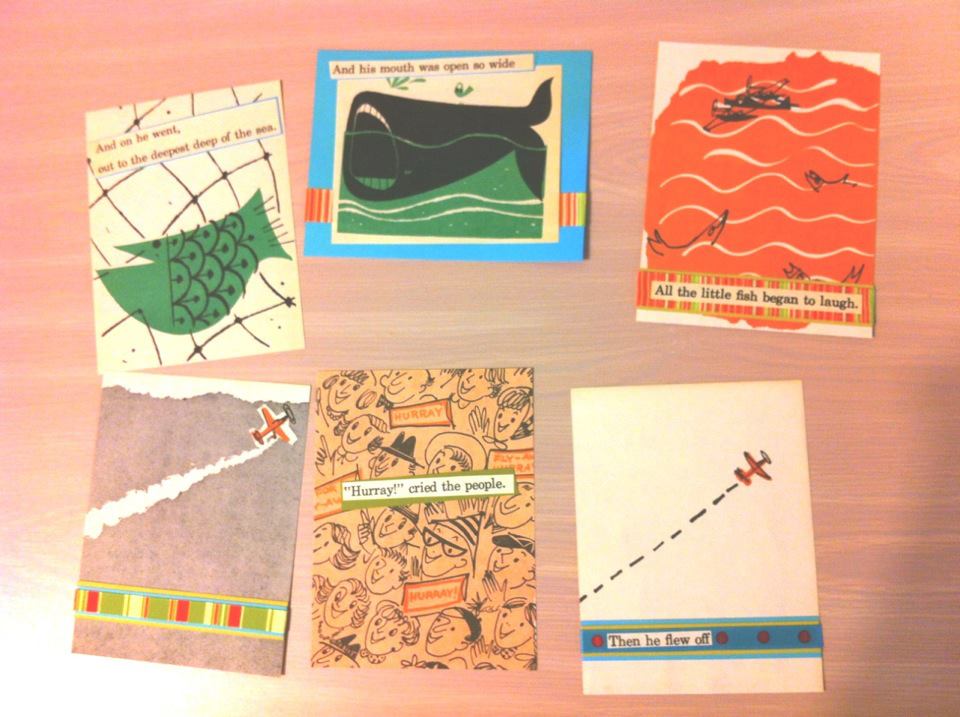
I like how the new series is coming together. I just love the whimsical imagery! I won't be selling these until I find the documentation that explains why projects like this aren't a copyright issue.
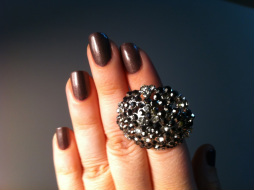
I had a specific nail colour in mind but everything I found in the shops was either too dark, too pretty, too glittery, etc. So yet again I decided to create my own colour. I went into my nail care kit and picked out my ugliest colour (the last mixing experiment gone wrong). I poured the polish into the trash then rinsed the bottle out with some nail polish remover and let it dry. Gradually I mixed the colours until I was happy with the result. In the end I'd used about two thirds of a bottle of Sally Hansen's Hard As Nails Xtreme Wear in Grey Area, about a quarter of a bottle of Sally Hansen's Insta-Dri Fast Dry Nail Color in Quick Sand, and about a quarter of an old pearly beige I had (I'd tell you what it was but the label is long gone). It's exactly what I wanted and I've had a few compliments on it.
|
Archives
January 2015
Categories
All
|


 RSS Feed
