|
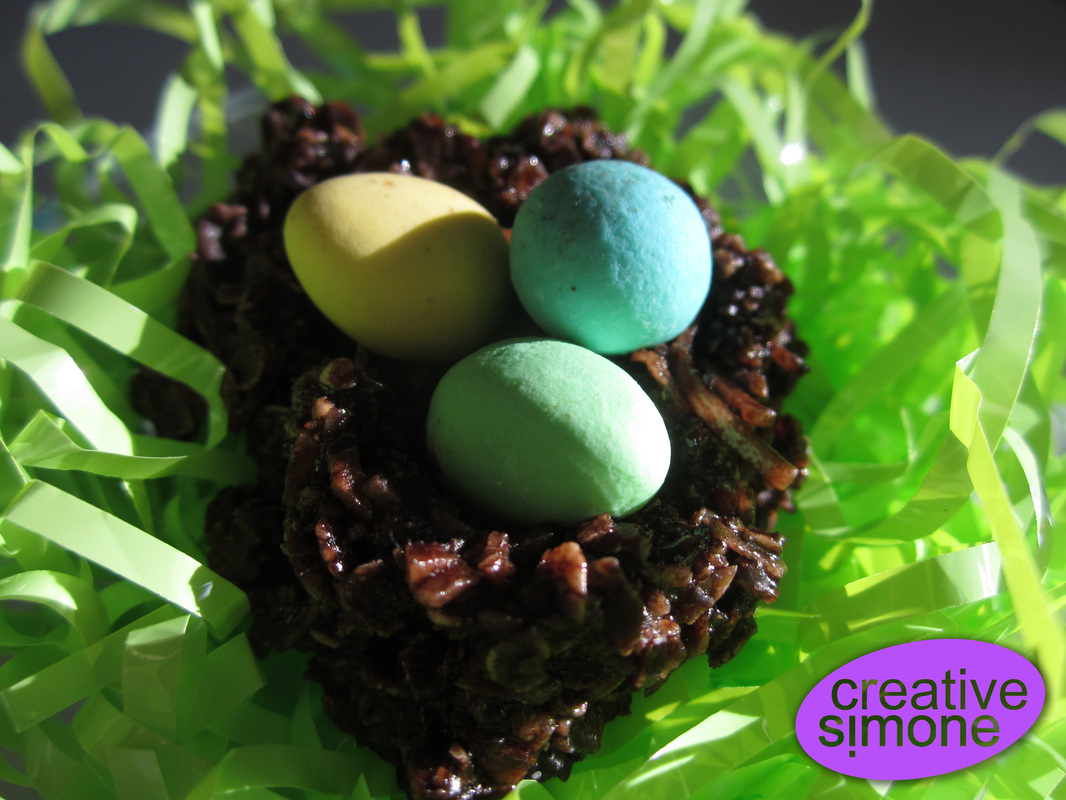
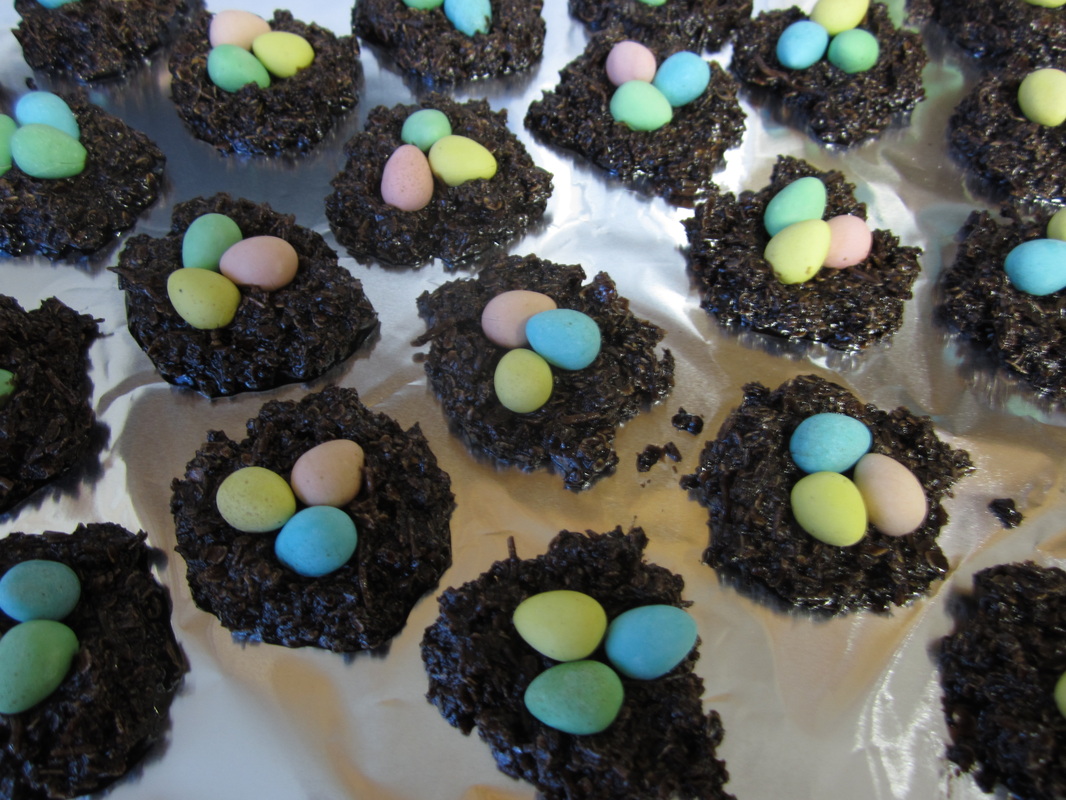
Gramma Sok's Chocolate Haystack cookies with Cadbury Mini Eggs on top. Simple, easy, adorable, and yummy!
How to: 1. Set the eggs on a shallow dish and set aside. 2. Prep a cookie sheet with wax paper and set aside. 3. Mix and set aside in large bowl: 2 1/2 cups quick oats 1 cup coconut 4. Mix in a saucepan and gently boil for three minutes: 2 cups white sugar 1/2 cup milk 1/3 cup cocoa 1/4 cup butter 5. Once your mixture has boiled for three minutes pour it over the oats and coconut, drop by forkful onto the wax paper, slightly press eggs into center of cookie, refrigerate until firm. 6. If you want to go the extra mile serve on shredded green paper "grass" or pretty plate or napkin or doily. UPDATE: You can use margarine instead of butter. They can firm up outside of the fridge too.
2 Comments
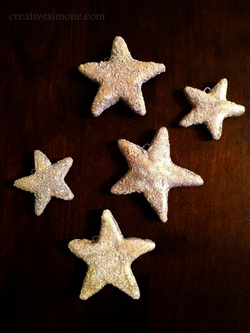
Bored one night I decided to make some Christmas ornaments. I used the old dough art recipe my mum and I had used when we made tons of seasonal ornaments in my childhood. I used my star cookie cutters to cut the dough and laid them out on cookie sheets. I used my wire cutters to snip paper clips in two (just cut the single loop end in half), using the larger half for the larger stars and the smaller half for the smaller stars, keeping them as centered as possible between the cookie sheet and the surface of the star. After cooking the dough and letting it cool I gave the stars quick coat of silver paint, then applied some glue and dipped them in a bowl of glitter.
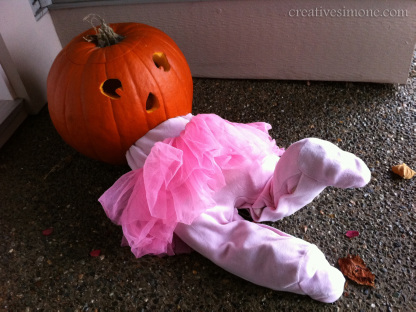
I'll hang them scattered on the tree, tie them to the top of a gift, toss them in a big clear vase with some Christmas globes, lay them on some cedar boughs, or knot them spaced apart along one long ribbon to swag along the mantle or even hang from the ceiling. If, before cooking, you cut the two bottom points off and used the whole paper clip in the top these would be adorable little place holders. Of course you can paint & glitter whatever colour suits your fancy. The only caution is that these can't get wet or the glue comes off and the dough swells. My mum's recipe: 2 cups flour 1 cup salt 1 cup cold water Mix & knead until smooth and not sticky - should be soft and easy to work with - keeps covered in fridge. Make your shapes and place on clean not greased baking sheets and bake in slow oven (275 F) for several hours - should be slightly golden brown and thoroughly dried out (may have to leave in an even slower oven overnight). Cool completely and be sure they're dry through. I saw a photo online of a pumpkin eating a leg which made me laugh so I decided to do one of my own this year. My boyfriend suggested a kid instead of a leg would be funny and I thought a girl dressed in frills would be even funnier. We bought the little tutu and the onsie at the Value Village thrift shop. My boyfriend carved the pumpkin (after I saved the seeds to roast) and stuffed the onsie with some of our towels. I suggested sticking a bent coat hanger in the one leg to give the kid some animation and this is what we ended up with.
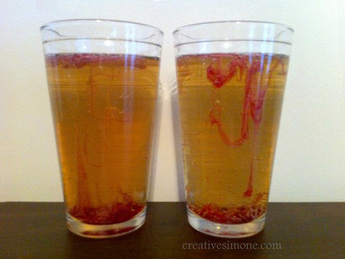
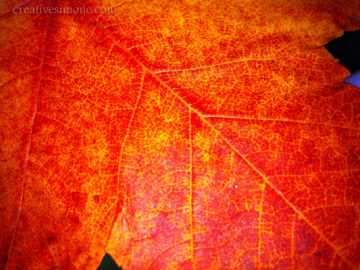
We got a lot of reaction! One kid pointed to the pumpkin and yelled "bad pumpkin!", and one said "that dumb baby crawled into your pumpkin!" Lots of parents thought it was quite funny, esp the dads. One mum came to the door with her real live baby girl dressed in a pink onsie but thankfully she had a good sense of humour. Only one mum said "that's disturbing on a few levels". I saw a bit of The Chew one day when Clinton Kelly said he was making an "ectoplasmic" drink for Halloween by using melted gummy bears. I couldn't remember his exact recipe. I just used a ginger ale and a bit of melted gummy bears. I put the gummy bears in a mug in the microwave for about 15 seconds, then drizzled the melted goo with a little spoon onto the surface of the ginger ale. The candy firmed up again in little wormy shapes and floated and wiggled on the ginger ale bubbles for about 15 minutes. Next time I think I would drizzle the candy with a fork to get smaller worms that may stay up and wiggling for longer. When I told a friend I was going to attempt this she suggested trying smooshed raspberries in orange juice to look like pus and blood clots. Maybe next year! I got curious about the best way to preserve these amazing fall leaves so I did some experimenting. I remembered dipping leaves in wax with my mum at some point in my childhood but I wasn't in the mood to deal with wax so I tried some simpler ways.
Method 1: I mixed two parts water with one part glycerin (which I found at Michael's) and put it in a lasagna pan with some of the leaves I had collected. I left it alone for a week, turning the leaves a few times. Method 2: I put the same glycerin mix in a small jar, cut the tips of the stems off, and then made myself a little leaf bouquet. I left those for a week. Method 3: I put the leaves in between layers of paper towel and pressed them with a large cutting board. I left those for a week too. Method 4: I put leaves in between two sides of wax paper (waxiest side toward the leaf), then put that on a towel and ironed it all together. Once cool I peeled the paper away from the leaves. The verdict: the best colour and flexibility was definitely with Method 2. The colour changed too much (got sort of dark and drab) with Method 1. The leaves from Method 3 and 4 became very brittle and the colours faded though the leaves from Method 3 retained a tiny bit of sheen. Now I just have to figure out what to do with the big bag of leaves I have. |
Archives
January 2015
Categories
All
|

 RSS Feed
