|
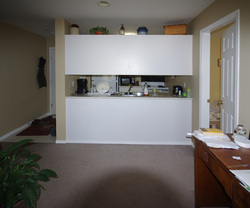
Contest time! Guess how much three of these new/after light fixtures cost me. I bought two large ones and one small one (the two large ones are pictured). Guess the price for all three before tax. The person who has the closest guess will win a set of three of my water cards. Our little guessing game will close on Sunday so you might be getting a nice little surprise on Monday morning. To enter leave a comment here, email me, or comment on the Creative Simone facebook page. 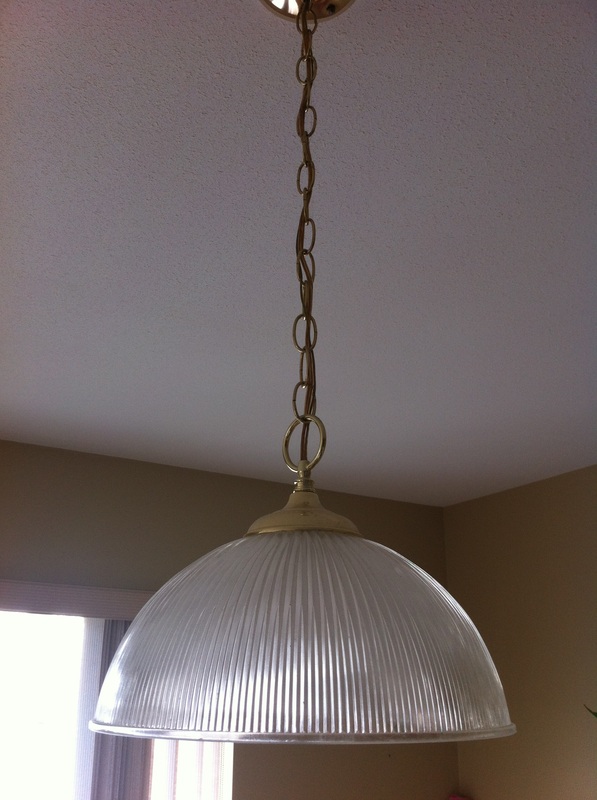 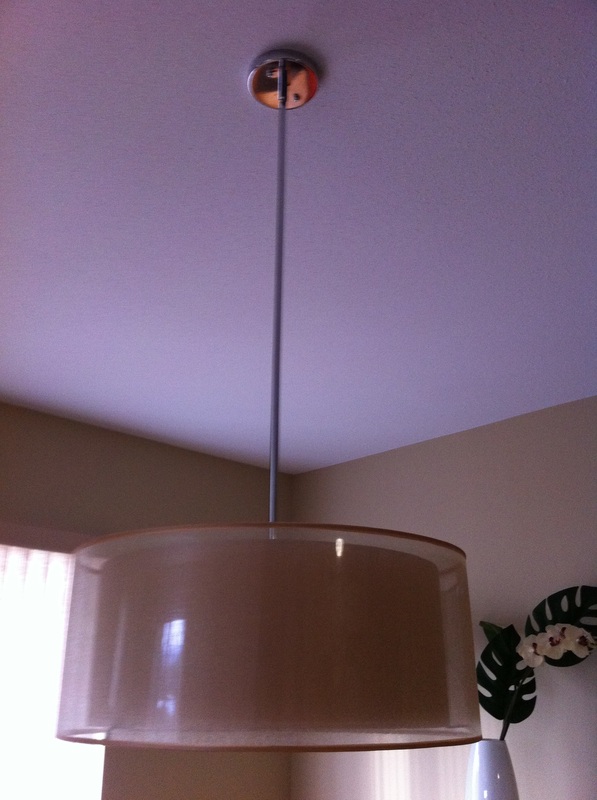 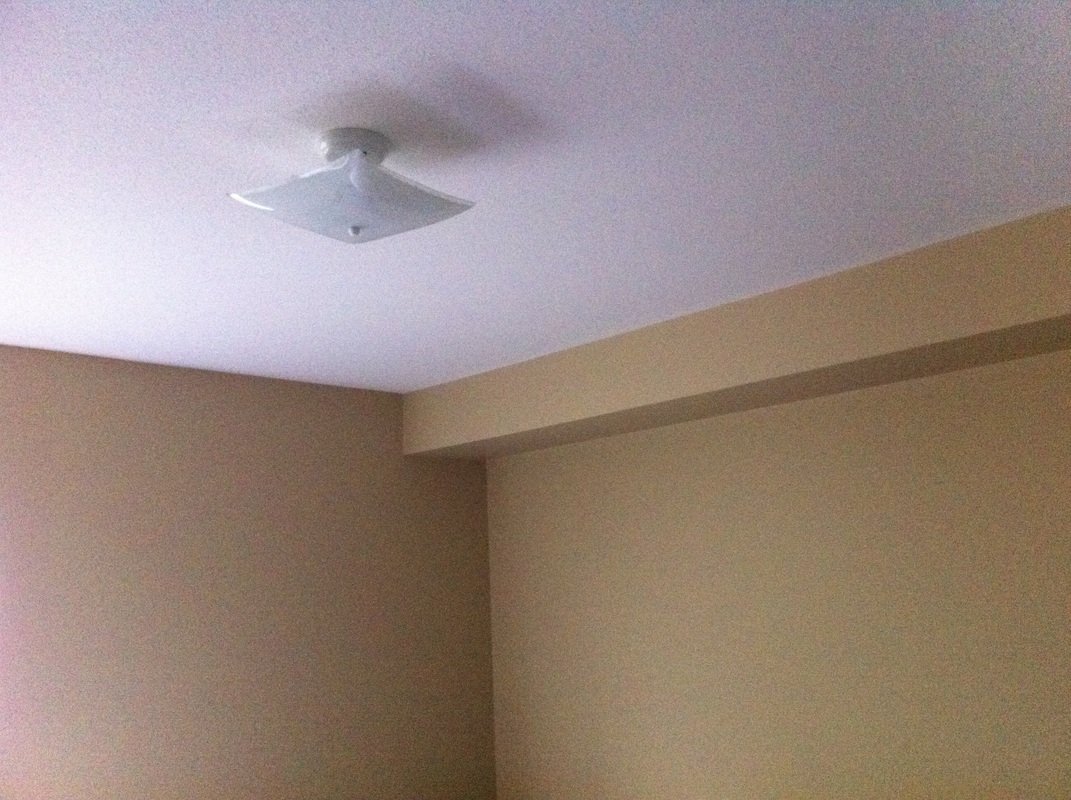 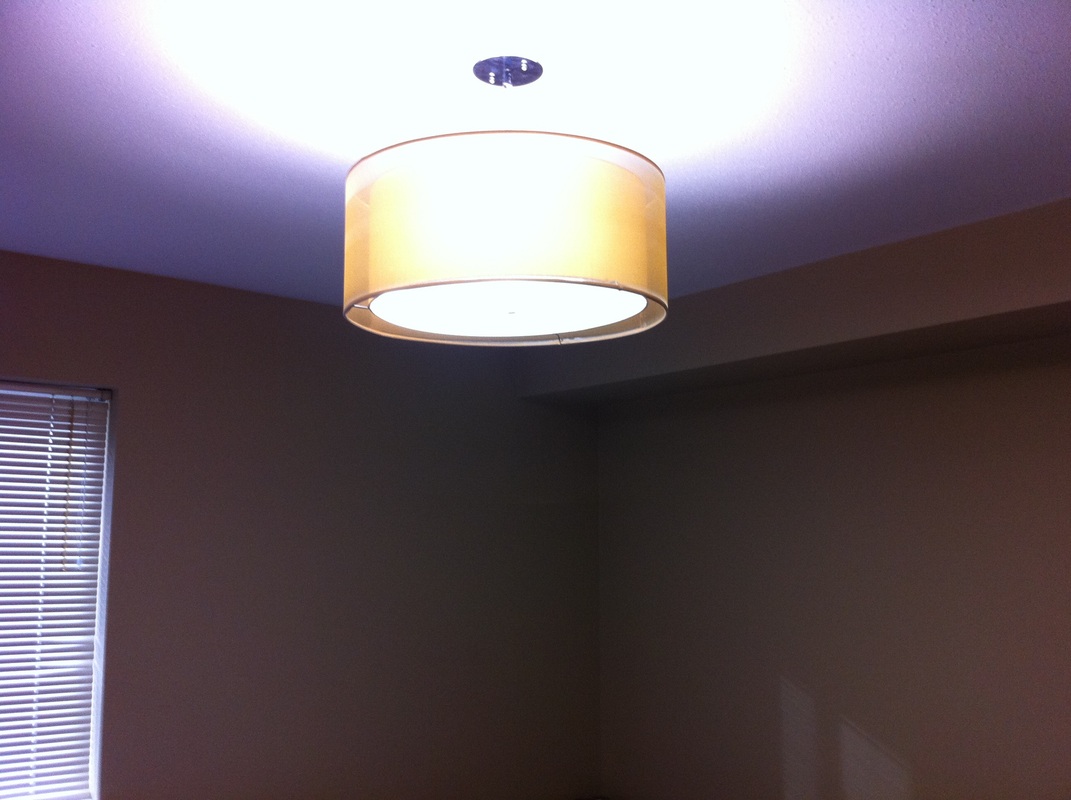 When I first viewed the condo I knew one of the most important things to change was going to be the lighting. I've been looking but didn't find anything that I was really in love with. Until these. I was a bit hesitant about the gold colour but knew I could change it up if need be. Then I installed them and loved how they looked with the walls. That wall colour is really growing on me. Now that it doesn't compete with the blue furniture from the last tenant it doesn't appear as yellow as it had at first.
2 Comments
 Before I just took possession of a condo. Even before buying I knew the upper kitchen cabinets would be the first thing to go. I turned the coat closet into a pantry so I didn't end up losing too much space. If I need to later I might put up a few shelves on the walls or run a shelf or two between the walls. I also plan on taking off one layer of drywall by the stove and putting in a few shelves there so I can store little things like spices and utensils in there. 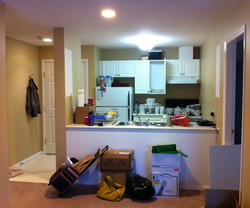 Forgive the mess and the poor photo quality. If I waited until everything was put away and I found my good camera I'd never share anything with you!
Eventually I'm going to extend the counter too so I will see less of the back of the cabinets and I can have a little eat-in bar there. New flooring eventually too. Stay tuned - I'll keep posting pics as the kitchen comes along. 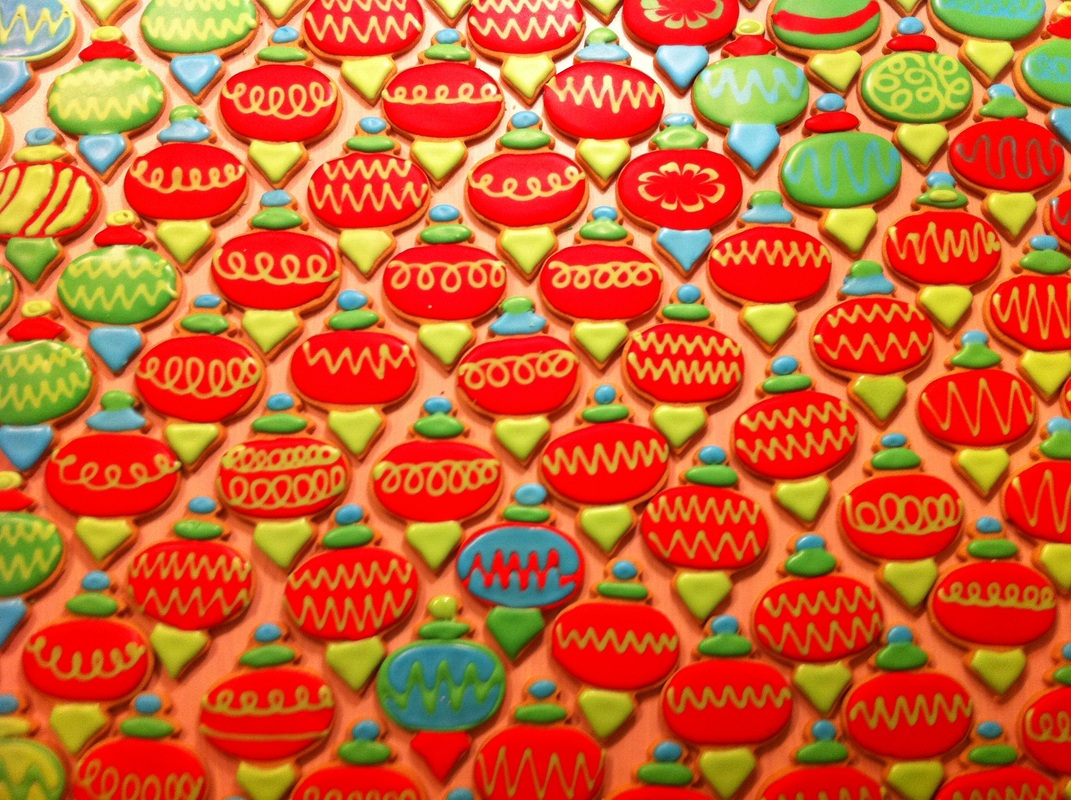 My favorite thing about Christmas just may be the baking. Of course I love to eat sweet treats but more than that I love to make them. For at least 20 years now I have always renamed any recipe so it includes the name of the person who shared it with me. I don't just have a Challah Bread recipe, I have Jeff & Sally's Challah Bread. I don't just have a cheese Gnocci recipe, I have Oliver's Decadent Cheese Gnocci. So a lot of my cooking and baking is also a trip down Memory Lane and the height of that reminiscing, which I so love, comes at Christmas.
A few years ago I'd tried to make my own treats like Bounty Bars. I tried three recipes I found online but none were quite what I was after. I amalgamated two of the recipes and got quite close. Before perfecting the recipe my lovely friend Jen gave me a little gift of what she called macaroons. They were exactly what I'd been trying to make! Thankfully she shared her recipe so I've been able to make them for the last few Christmases. Because the macaroons I've had in the past were quite dry and crunchy I now refer to these treats as JEN'S COCONUT BALLS. These are by far the treats I get the most compliments on at this time of year, and a great treat for the people in my life who are avoiding gluten. Another one of my favorite Christmas treat recipes also came from Jen - about 15 years ago! This is JEN'S ALMOND ROCCA. These are always quick to disappear! One of the people who got the almond rocca this year said it was a decadent treat to dip a piece into peanut butter. I am beginning to believe I was just not built for making SHORTBREAD. I've tried a few recipes with not much luck. I thought I'd given up on it but earlier this fall my friend served me shortbread cookies that her and her hubby had just made. They were by far the best shortbread cookies I'd ever had. I was so excited about them that when my friend gave me the recipe she titled it "Best Shortbread Cookies EVAR!!!". Knowing my shortbread history I even did a trial run before Christmas. They weren't great. I consulted with my friend and got more specific instructions about the kind of sugar and butter she'd used and how long to mix the dough. I was so sure the final run at Christmas would be perfect I was practically drooling as I pulled the cookies out of the oven but one bite said they were not one iota better than the tough and bland trial run. I wailed to her and she said she'd also made the recipe a second time and hadn't had any luck either! Her and her hubby couldn't figure out what they'd done differently than the delicious first time but they were going to abandon the recipe and recommended I do the same. I'll give shortbread one more try, though. After serving the poor version of my mum's recipe to my boyfriend's shortbread-loving father in 2010 I received a thank you card in the mail containing their family recipe. If I can't make that recipe work I won't ever try to make shortbread again! At least where I fail at shortbread I succeed at SUGAR COOKIES. My boss calls me the Sugar Cookie Queen and I love that title! I'd made sugar cookies a few times in the past and had thought the cookies were really just there to hold the icing, more a colourful treat for kids than something to be savored. Then I came across a recipe in a magazine - probably Canadian Living - that used brown sugar instead of white. I tried it and was in love. I also started making the cookies a little thicker than I had before, so you get to taste the cookie and not just the icing. I use professional icing colours to get the saturation I love. I tend to decorate (and eat) a few test cookies before I find a style I like, then I do the rest of the batch in a very similar style just because I love the uniform look. I leave them overnight to dry, then they are ready to pack up and give away. I think the height of Christmas reminiscing comes when I make my MUM'S FANTASY FUDGE recipe. I remember the first time I had fudge in a shop I was so disgusted that it was dry and flaky. I still don't enjoy "real" fudge because I so much prefer the soft and smooth texture of my mum's recipe. My mum has been experimenting with other fudge recipes for a few years but the recipe I remember from my childhood is still by far my fave. When I was in high school I was in a group that was a bit like Girl Guides, called Canadian Girls in Training. I don't even know what we were in training for because I just remember how much fun it was to meet up and do crafts and chat and run around at camp. I ended up with two recipes from that group (I wish I could remember who shared the recipes with me). One is a fruit dip and one is a rocky road type recipe with butterscotch instead of chocolate. Over the years I've morphed that butterscotch recipe into my MINI ALMOND BUTTERSCOTCH CUPS. I'll share the recipes soon. Those are my favourite to make and eat. What are yours? I had a specific nail colour in mind but everything I found in the shops was either too dark, too pretty, too glittery, etc. So yet again I decided to create my own colour. I went into my nail care kit and picked out my ugliest colour (the last mixing experiment gone wrong). I poured the polish into the trash then rinsed the bottle out with some nail polish remover and let it dry. Gradually I mixed the colours until I was happy with the result. In the end I'd used about two thirds of a bottle of Sally Hansen's Hard As Nails Xtreme Wear in Grey Area, about a quarter of a bottle of Sally Hansen's Insta-Dri Fast Dry Nail Color in Quick Sand, and about a quarter of an old pearly beige I had (I'd tell you what it was but the label is long gone). It's exactly what I wanted and I've had a few compliments on it. 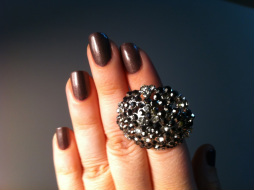 After a few yoga classes with a new instructor I really appreciated the way she spoke about relaxation. I liked the words she chose, the rhythm of her voice, and simply the sound of her voice. I know someone who is always asking for advice on how to relax but has quadriplegia so gets kind of blocked with the generic relaxation programs out there that tell you to do things with your body that he can't do (even something as simple as "lie down with your arms at your sides"). I asked the yoga instructor if she'd be willing to work with me to create a custom-made relaxation CD for him. She was up for it so we sat down and talked about his specific challenges, strengths, abilities, and even favourite words and ideas about relaxation. She found some appropriate back ground music, wrote herself a script that spoke solely to him, and then recorded the CD. He and I just listened to it for the first time and are both thoroughly impressed. He liked it so much he wanted to listen to it again immediately!
I've been taking strange photos of water and ice for years now, never quite knowing what I could do with them. After being complimented so often on the way I use words on the other collage-style cards I make I finally realized I should combine words with these images. I liked the images I created so I sent them to a printer's to be made into 5x7 cards. They are blank on the inside and come with envelopes. $5 each or $20 for 5. 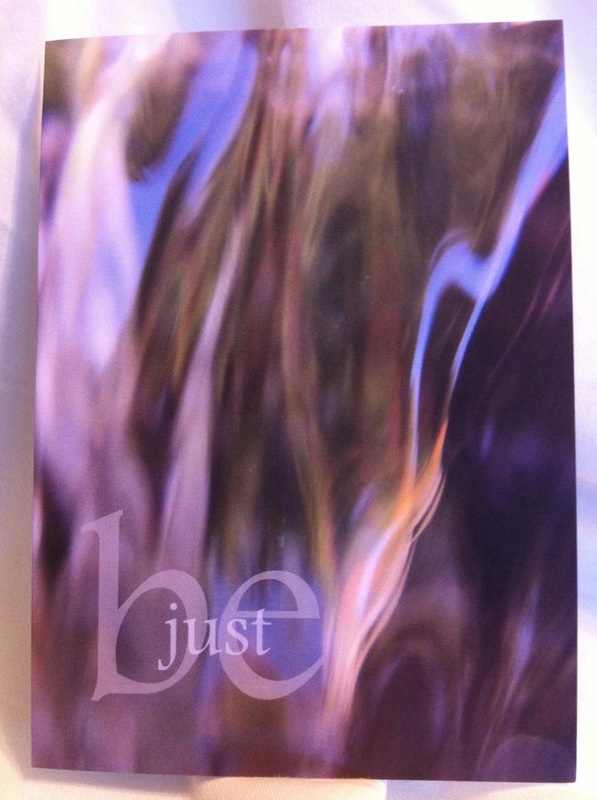  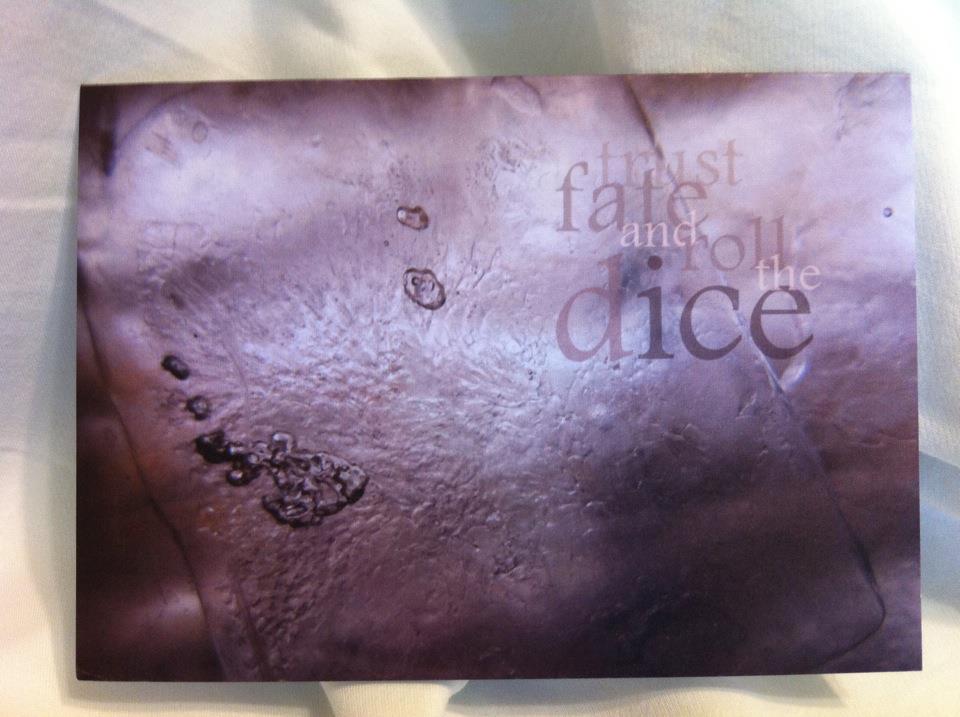 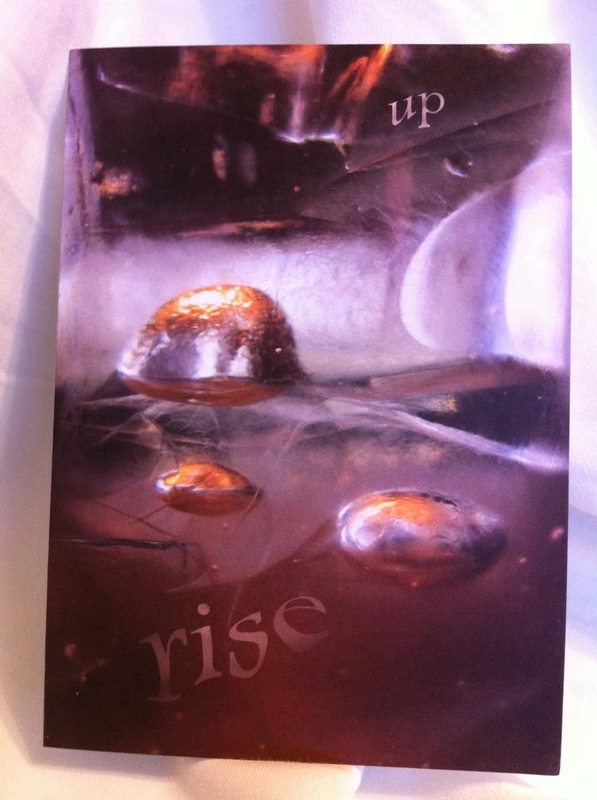 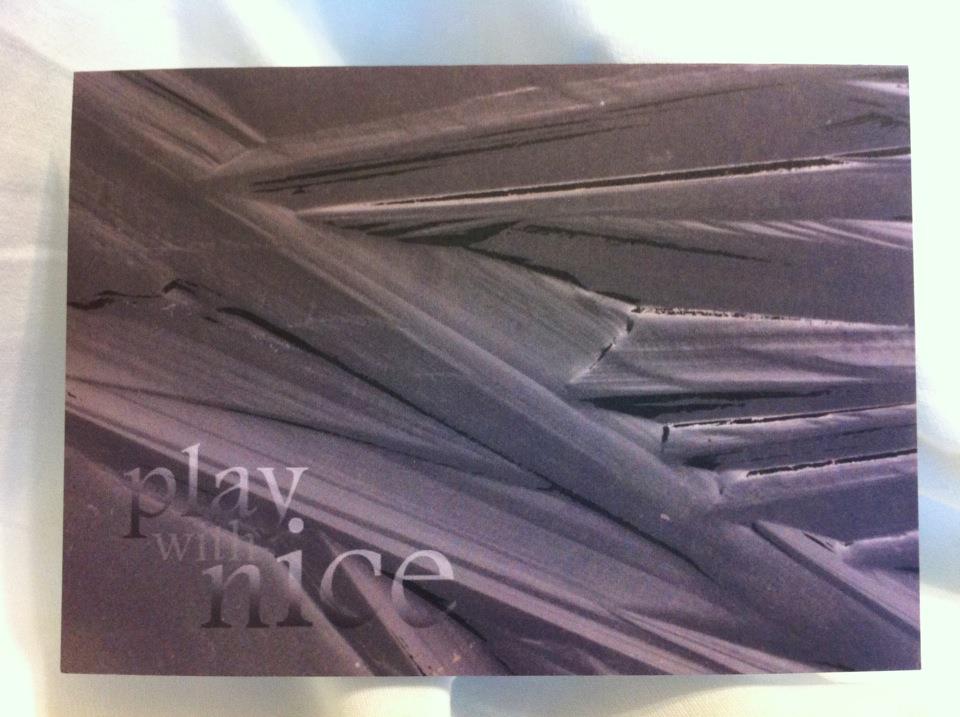  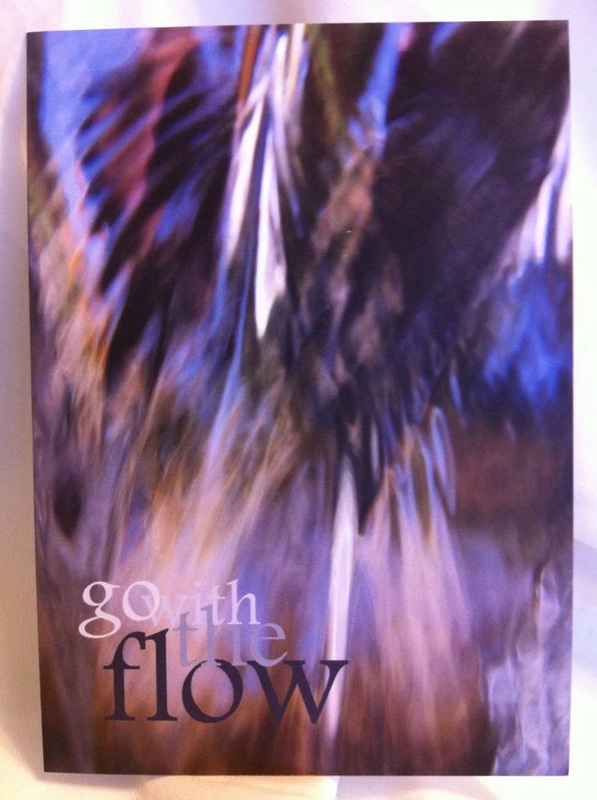 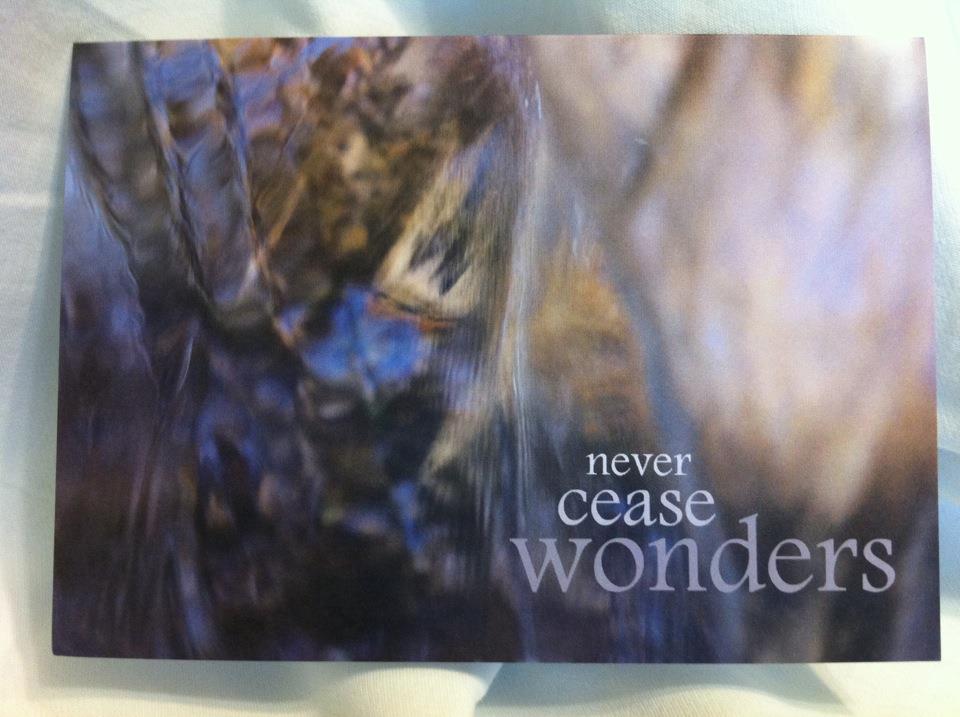  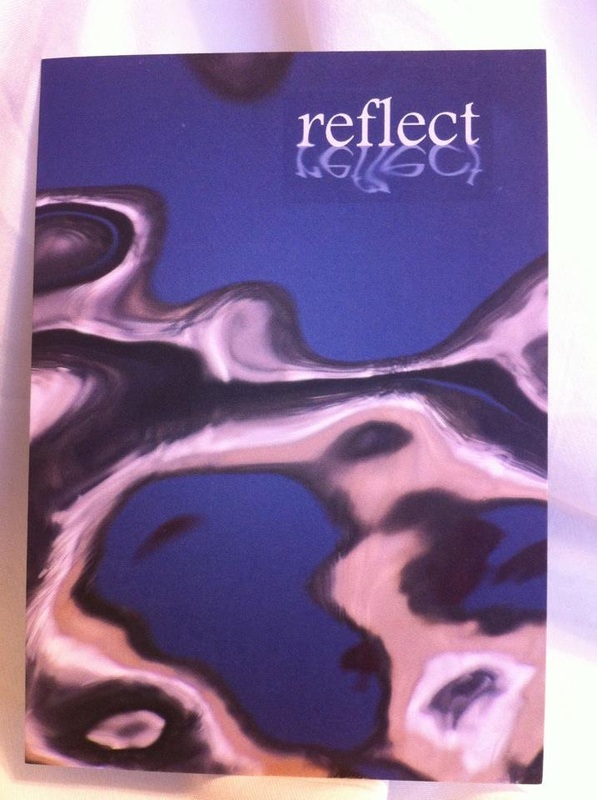 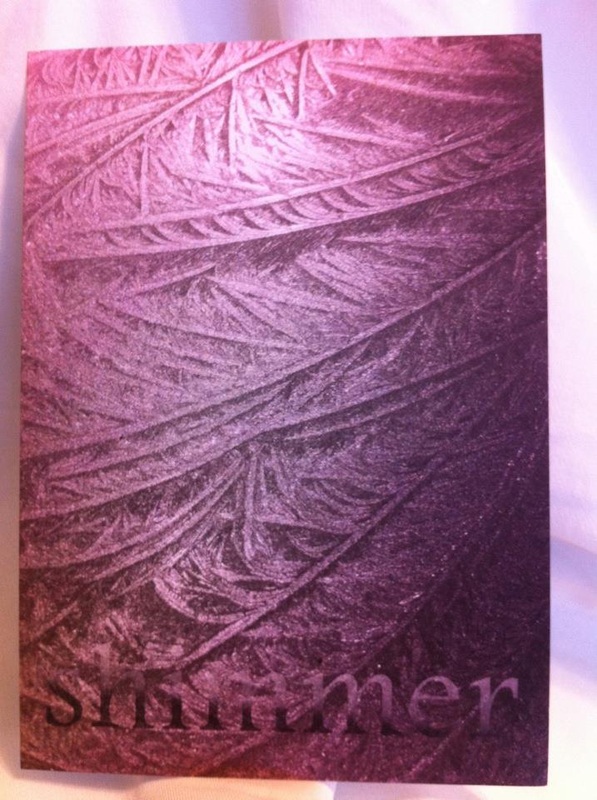  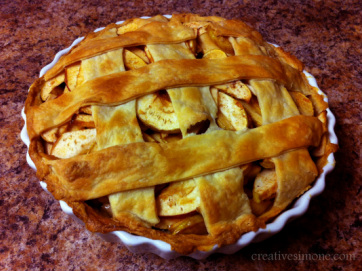 The last time I was at my boyfriend's parents' house I helped myself to some apples from their tree and this is what I did with them. I had planned to make this pie for them but it looks like we won't see them before the apples go bad.
The crust is made from the dough I almost always have in the freezer. When I find cream cheese at a great price I make the dough (from a recipe I found on the Epicurious site ages ago), divide the dough into two, stick each half in a freezer bag, chuck it in the freezer, and just take it out whenever I need it. It thaws in about two hours. To speed up the thawing process you can just slice off bits as they thaw. Half the recipe is a perfect size for a bottom crust. It rolls out and repairs very easily and isn't as fragile as other doughs I've tried. The only down side is that the edge shrinks quite a bit as it's cooking. This is not the dough recipe to use if you like the thick fork-pressed or finger-ruffled edge crust edge. The crust recipe is just 1 cup or 1 brick of cream cheese, 1/2 a cup of soft butter, and a cup of flour. The pie filling I just winged based on what I remembered from the last time I made apple pie years ago and from the experience I have making the pumpkin pie I love so much. I cut up enough apples to make what I thought would be a mound in the pie shell about twice as tall as the pie plate. I used my apple corer to speed things up and cut the slices into pieces that were no more than about a centimeter thick. As I cut the apples and tossed them into a big bowl I splashed them with a bit of lemon juice. Then I sprinkled on a few tablespoons of flour, grated in about a tsp of fresh nutmeg (so much more flavourful than prepackaged!), sprinkled on one or two tsp of cinnamon, broke up about half a cup of brown sugar over the apples, then stirred to get all the slices coated. All that went into the crust, then I trimmed off the excess and dabbed water around the edge. I rolled out another round of dough, sliced it into even strips, laid the strips over the pie in one direction first and then the other, lightly pressing the top dough to the bottom dough. I put a piece of tinfoil very loosely over the whole pie and put it in the oven at 425 for about 15 minutes, then reduced the temp to 350 and let it cook for an hour, taking the tinfoil off around the 40 minute mark. It was hard to resist but I let the pie set for about 20 minutes before digging in to give all the liquids time to gel. The house smelled great and the taste buds were happy!  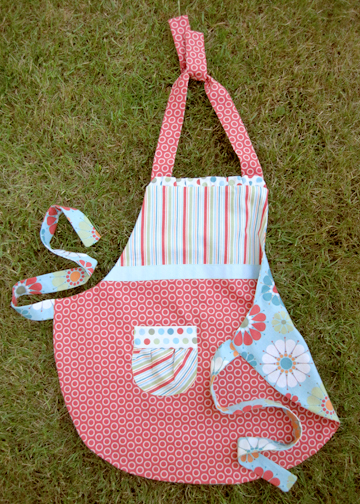 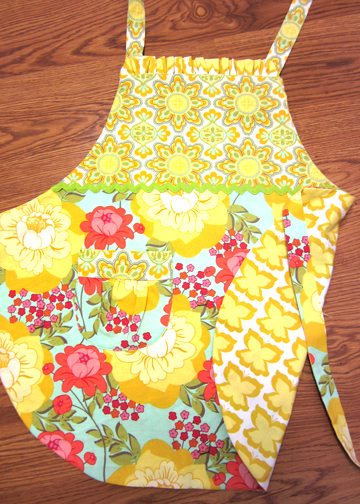 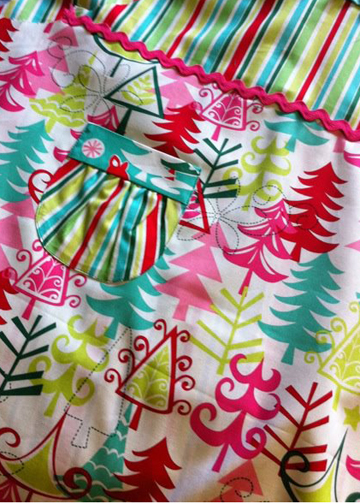 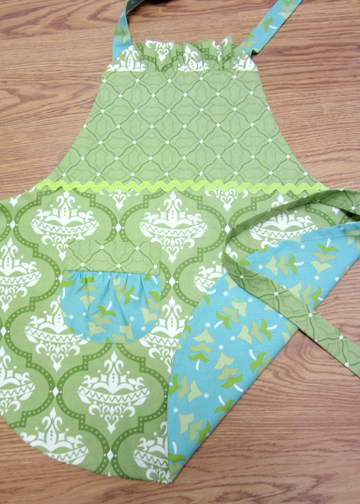 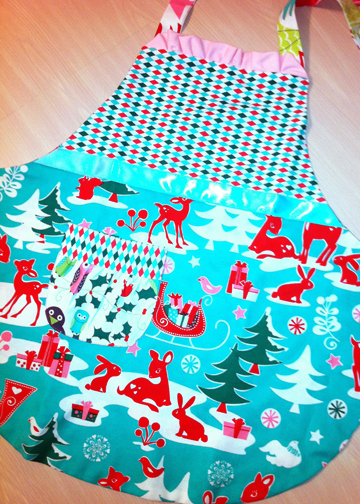 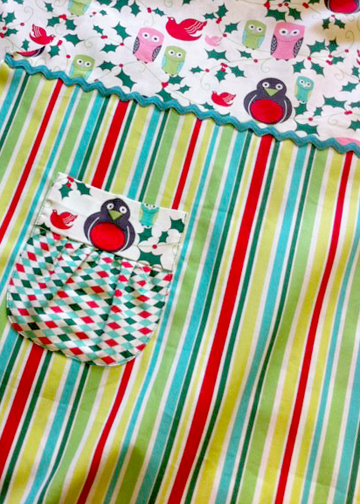 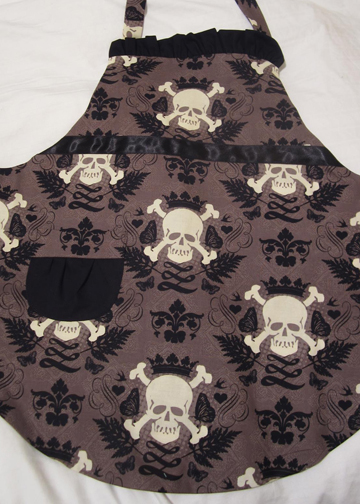 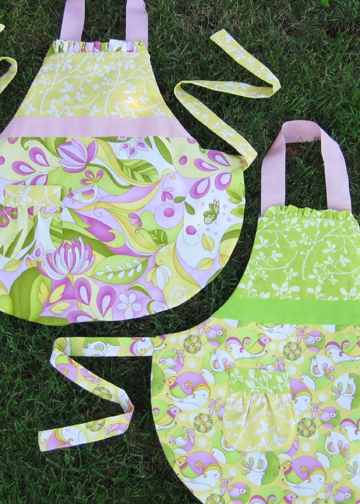 I can't remember why I was inspired to make these but I get so much positive feed back I just keep making them. The style, how the skirt wraps around the hips, is just so practical, and people seem to love the colour and pattern combos as much as I do. I'm selling them for $40 each, $45 for a custom-made, with discounts for a purchase of multiples (there are a handful of sisters out there with similar aprons - how cute is that?!).
I currently don't have any stock - every one I've made is either at a gallery or already sold! I'm going to start making aprons for boys, women, and men soon. I'm aiming to have a lot of stock for the BBQ season for all those Grill Masters and Grill Masters in Training. They women's aprons are going to be retro shapes in modern fabrics. Great gift ideas! 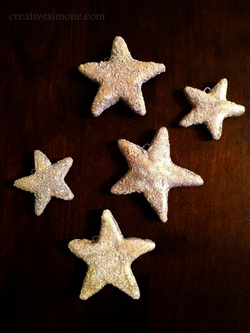 Bored one night I decided to make some Christmas ornaments. I used the old dough art recipe my mum and I had used when we made tons of seasonal ornaments in my childhood. I used my star cookie cutters to cut the dough and laid them out on cookie sheets. I used my wire cutters to snip paper clips in two (just cut the single loop end in half), using the larger half for the larger stars and the smaller half for the smaller stars, keeping them as centered as possible between the cookie sheet and the surface of the star. After cooking the dough and letting it cool I gave the stars quick coat of silver paint, then applied some glue and dipped them in a bowl of glitter.
I'll hang them scattered on the tree, tie them to the top of a gift, toss them in a big clear vase with some Christmas globes, lay them on some cedar boughs, or knot them spaced apart along one long ribbon to swag along the mantle or even hang from the ceiling. If, before cooking, you cut the two bottom points off and used the whole paper clip in the top these would be adorable little place holders. Of course you can paint & glitter whatever colour suits your fancy. The only caution is that these can't get wet or the glue comes off and the dough swells. My mum's recipe: 2 cups flour 1 cup salt 1 cup cold water Mix & knead until smooth and not sticky - should be soft and easy to work with - keeps covered in fridge. Make your shapes and place on clean not greased baking sheets and bake in slow oven (275 F) for several hours - should be slightly golden brown and thoroughly dried out (may have to leave in an even slower oven overnight). Cool completely and be sure they're dry through. 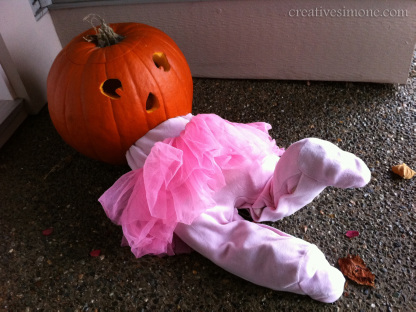 I saw a photo online of a pumpkin eating a leg which made me laugh so I decided to do one of my own this year. My boyfriend suggested a kid instead of a leg would be funny and I thought a girl dressed in frills would be even funnier. We bought the little tutu and the onsie at the Value Village thrift shop. My boyfriend carved the pumpkin (after I saved the seeds to roast) and stuffed the onsie with some of our towels. I suggested sticking a bent coat hanger in the one leg to give the kid some animation and this is what we ended up with. We got a lot of reaction! One kid pointed to the pumpkin and yelled "bad pumpkin!", and one said "that dumb baby crawled into your pumpkin!" Lots of parents thought it was quite funny, esp the dads. One mum came to the door with her real live baby girl dressed in a pink onsie but thankfully she had a good sense of humour. Only one mum said "that's disturbing on a few levels". I saw a bit of The Chew one day when Clinton Kelly said he was making an "ectoplasmic" drink for Halloween by using melted gummy bears. I couldn't remember his exact recipe. I just used a ginger ale and a bit of melted gummy bears. I put the gummy bears in a mug in the microwave for about 15 seconds, then drizzled the melted goo with a little spoon onto the surface of the ginger ale. The candy firmed up again in little wormy shapes and floated and wiggled on the ginger ale bubbles for about 15 minutes. Next time I think I would drizzle the candy with a fork to get smaller worms that may stay up and wiggling for longer. When I told a friend I was going to attempt this she suggested trying smooshed raspberries in orange juice to look like pus and blood clots. Maybe next year! 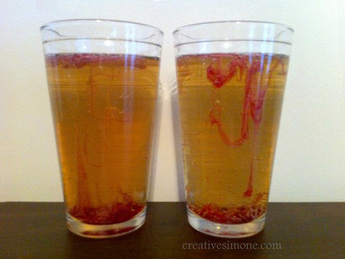  |
Archives
January 2015
Categories
All
|
 RSS Feed
